Here is the how I made the illustration for the Something Beginning with C challenge for the School Dash activities.
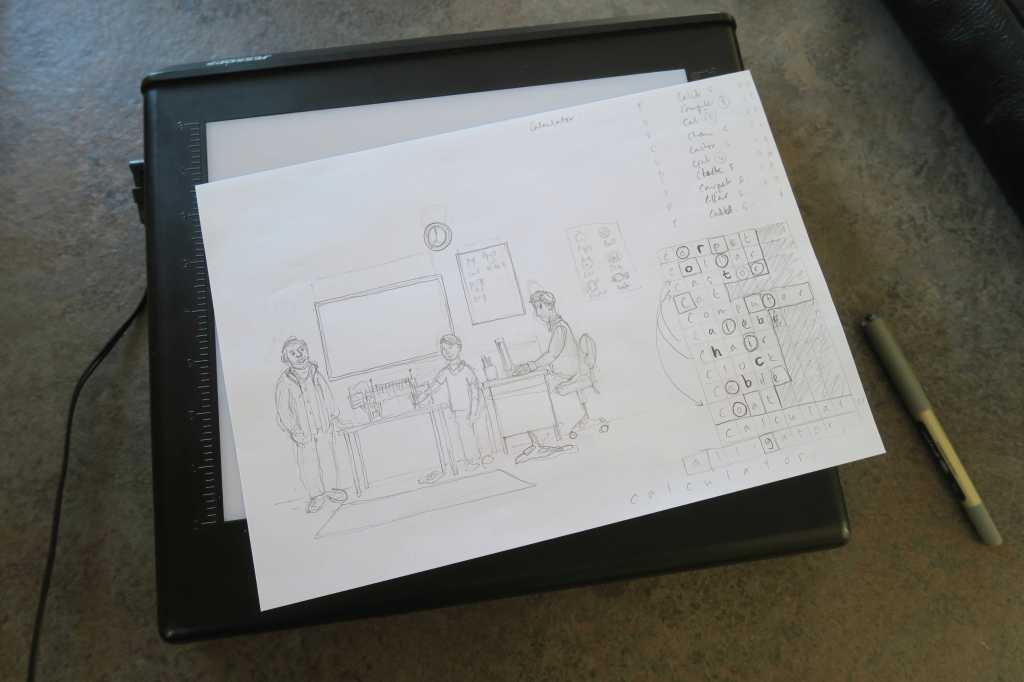
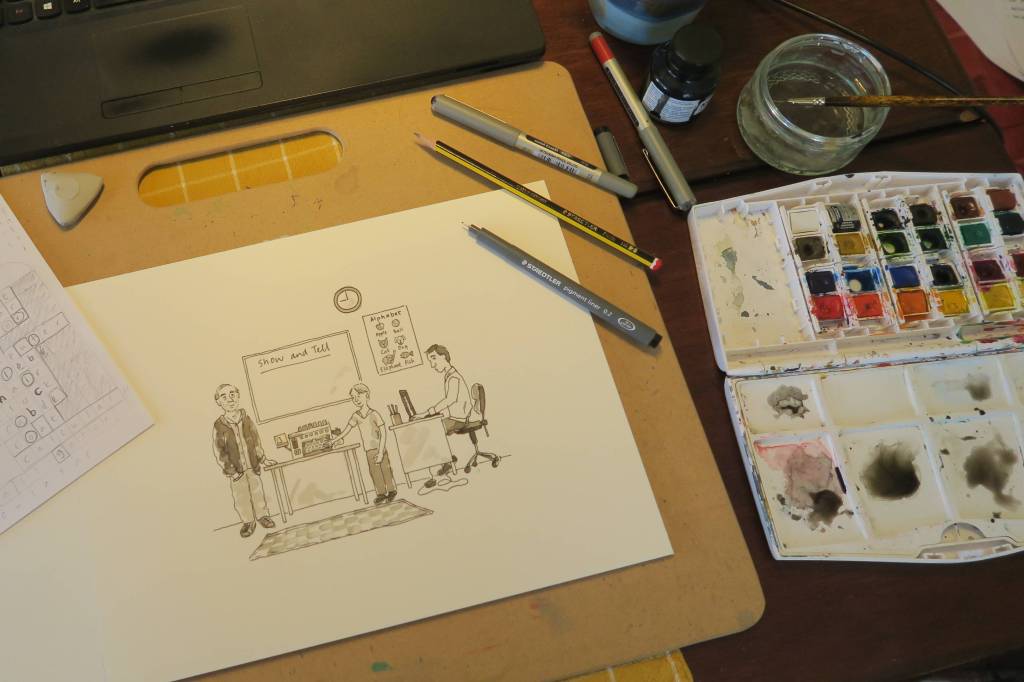
First, I did a rough pencil sketch on some printer paper. You can see it is quite scribbly and I wasn’t afraid to move things around and try different positions. There is no point in spending a long time painting a picture only to decide at the end that it would have been better if a head was at a different angle!
Can you see how I made Caleb shorter? And moved the clock and whiteboard down?

Next I used a light box to trace the main shapes through onto watercolour paper. The light box shines a light up through a sheet of translucent plastic, so it is easier to see what you are tracing.
I was planning just a simple black and white picture this time (not colour like the ones in the book) so I used a permanent ink pen (rather than the special inky pen I mentioned in the post 3 Minute Video – In the Studio!).
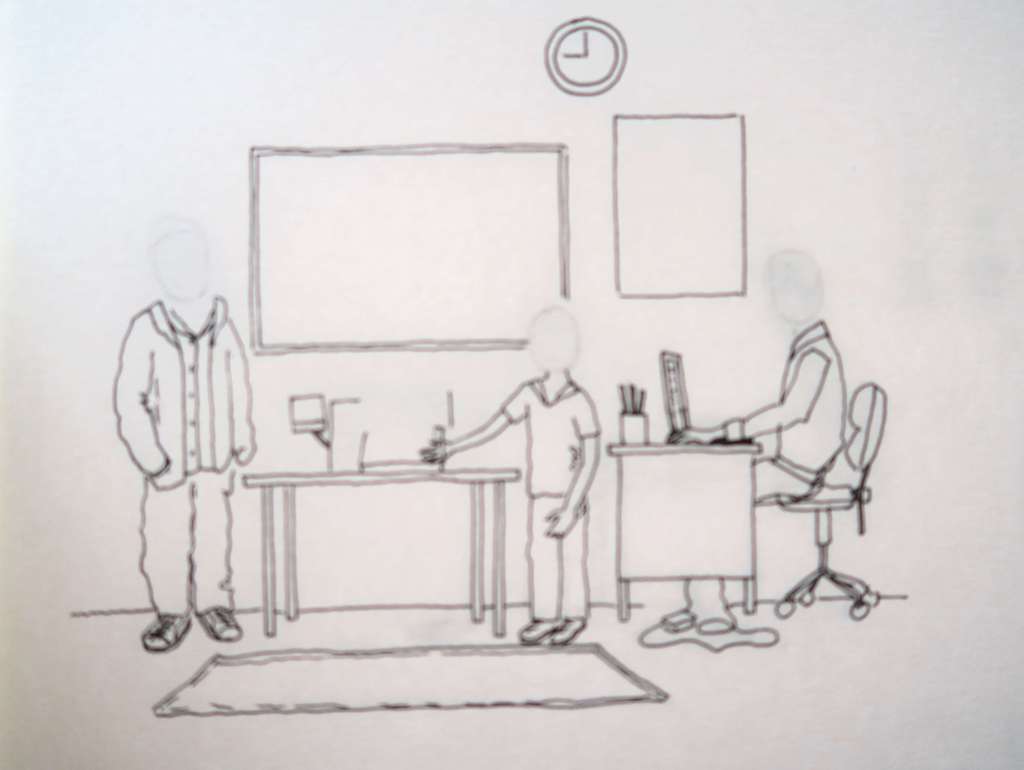
You may have noticed that I didn’t draw the heads! Heads are very easy to get wrong and the pencil drawing below wasn’t clear enough. So, I took the ink drawing off the light box, drew the faces again in pencil and when I was happy with them I inked them in. (With this approach, if something does go wrong with a face, you can quickly re-draw the bodies and furniture using the light box, so it wouldn’t be a complete disaster.)

After letting the ink dry and rubbing out the pencil I got out my bottle of Indian black ink. The black is very intense so I diluted some in one section of my mixing tray, then added more water in another section and more in another so I had a range of different greys.
Starting with the lightest grey I painted in the shadows and darker objects, going darker and darker until I finished with the teachers hair, shoes and parts of the chair. When one layer is dry I sometimes added a darker layer, such as with Grandpa’s coat.
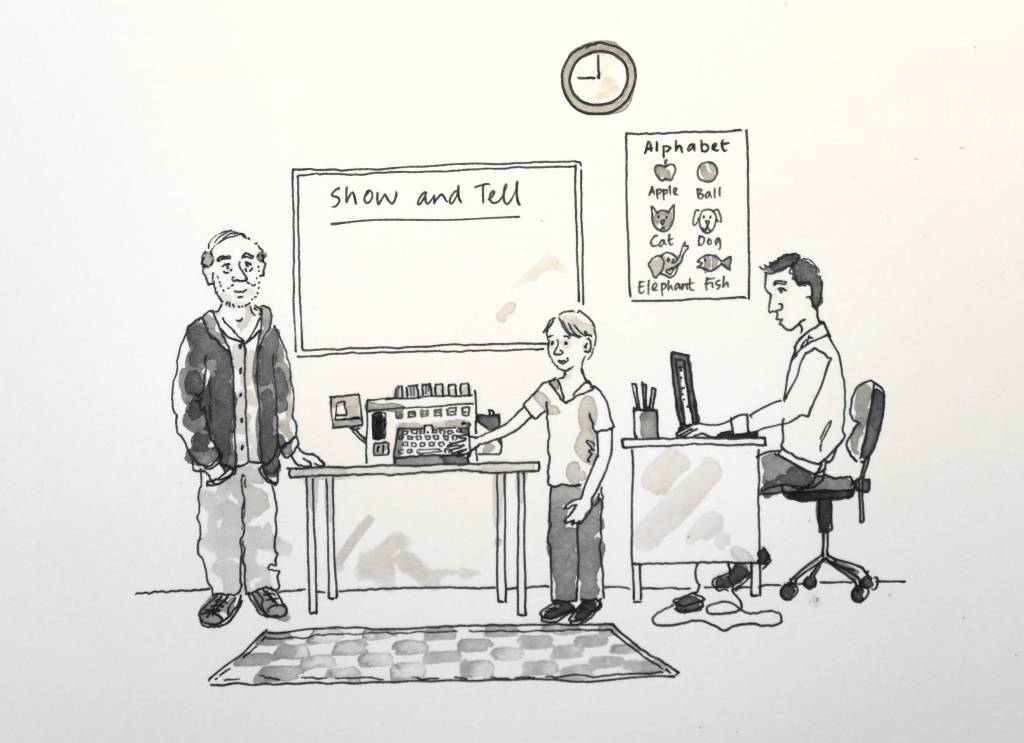
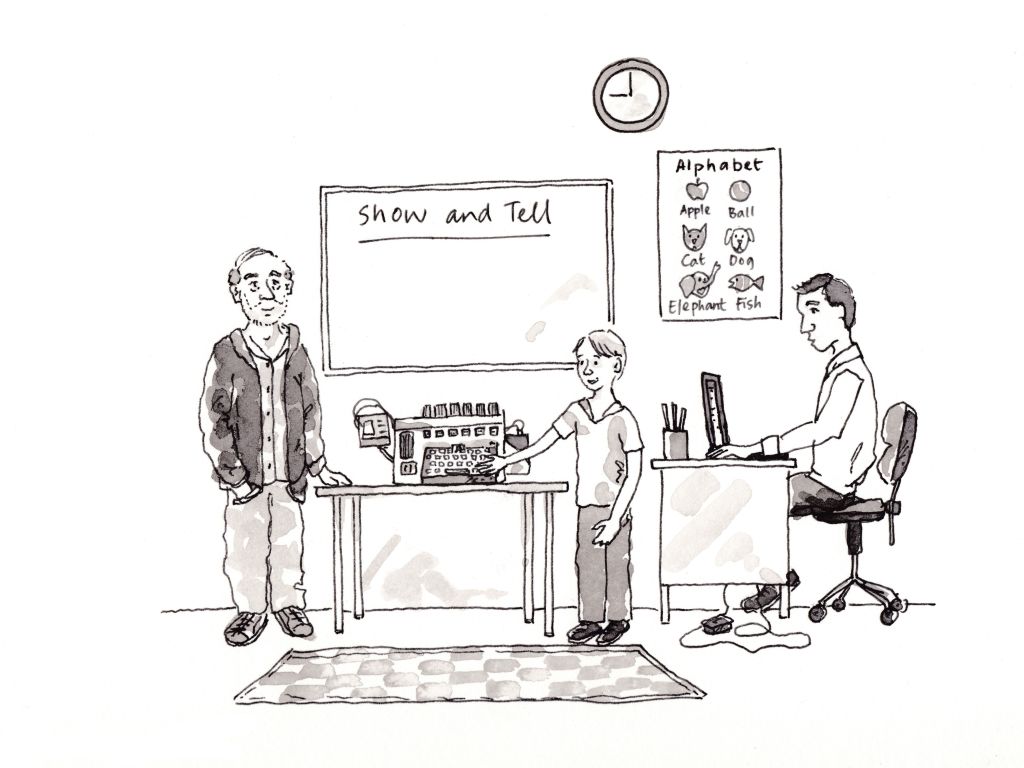
Finished? Not quite… I then scanned the image onto the computer so I could tidy up a few things… Can you spot any “mistakes” in the picture above?
The main one is that there is a line going through Caleb’s hand. I also managed to smudge some ink below the chair and there were some random lines on the teacher’s shirt that didn’t look right.
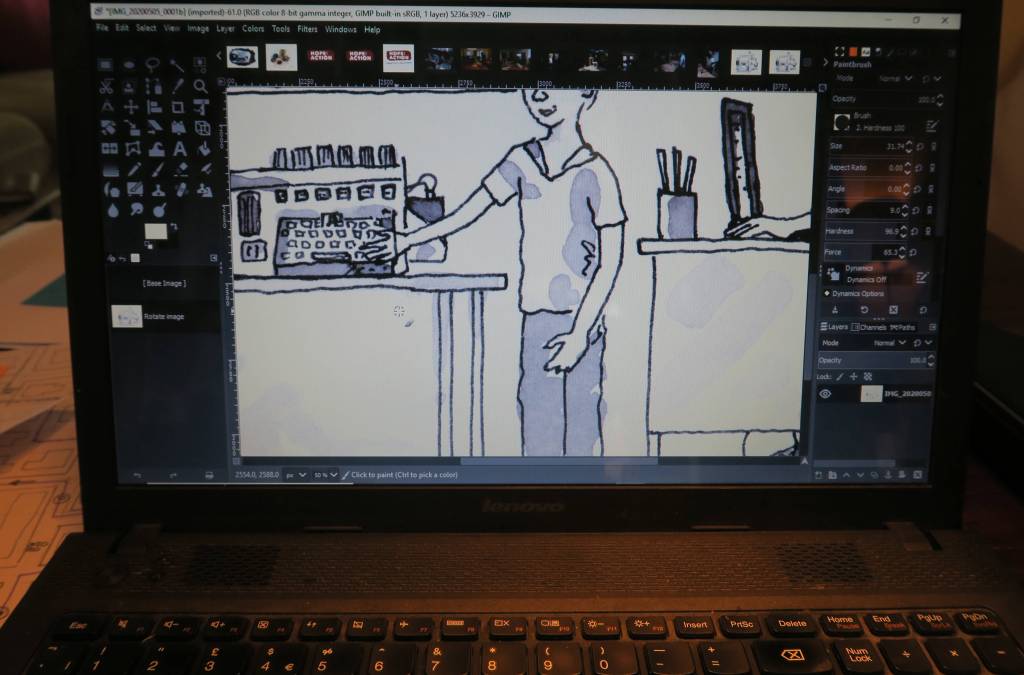
On the computer it is easy to use a tool to erase the wrong lines (or go over them with white).
Then I had a final image to use on the activity! What do you think?