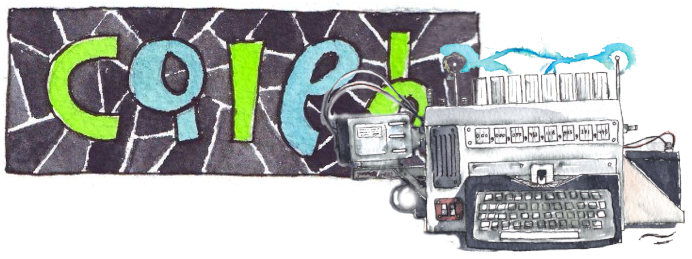
I have really enjoyed creating the illustrations for Caleb and the All-Seeing Glasses the last few weeks.
Here are a few of the pictures from Part 1 so you can see how I developed them from an initial drawing to the final illustration. I hope I’m not giving too much of the story away!
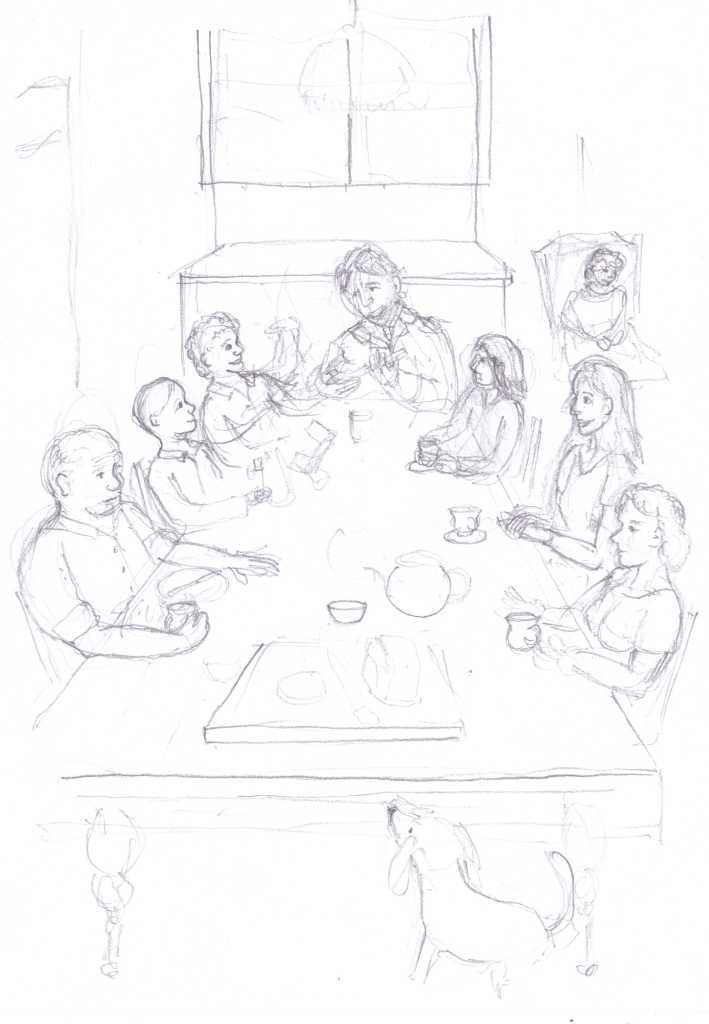

I start by lightly sketching the main shapes on ordinary printer paper until I have got the overall layout how I want it – and so things look the right size and position in relation to each other. Because I use the light box to transfer the picture to watercolour paper later, it doesn’t matter if I end up with lots of lines in the wrong place! When I am confident I have something in the right place, I go over it again pressing a bit harder so it will show through clearly when I use the light box.

People are one of the hardest things to draw, so being able to lightly sketch and heads and limbs and adjust their position until they look “right” is crucial. It is so easy to draw a head too small or arms that are too short! Faces are even harder, particularly as they have to be consistent for a particular character. With the pencil drawing you can rub out easily and try again (if you do too much of that on the watercolour paper you can spoil the paper and make it dirty).
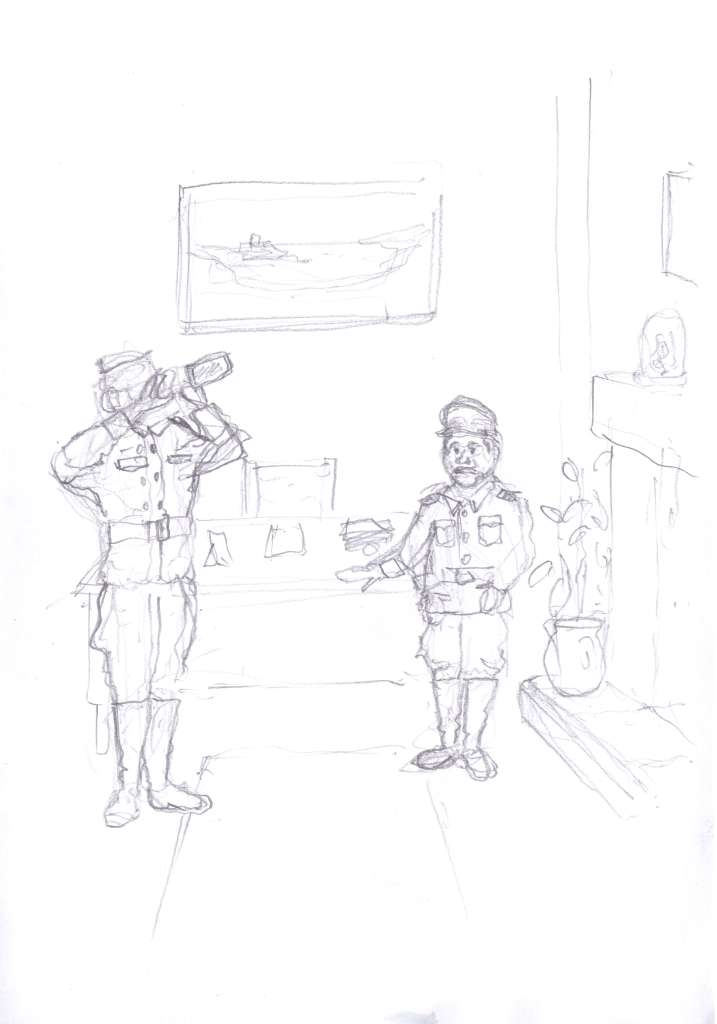
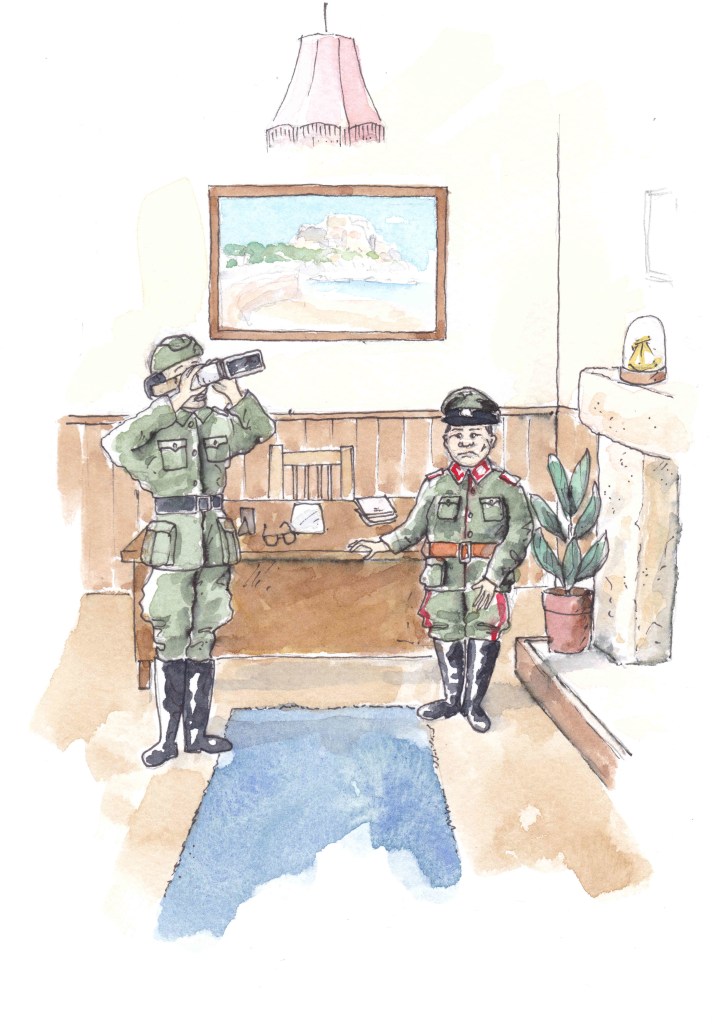
Sometimes you have to do some research to get clothing, furniture and accessories correct for the period the story is set in. For this illustration I had to look up what soldiers in the German army would wear and the difference in uniform between a soldier and a general. Can you see the general has red in his uniform? Even their belt colour is different!
Why don’t you have a go at using some of these techniques to do your own illustration? (If you don’t have a light box you can put your drawing against a window and shine a light through from behind). If you haven’t entered the illustration competition yet, you have today to work on your entry!
