I hope you found Part 1 of How I Write a Book interesting. All being well, you have a good idea for a book brewing at this very moment!
The great news is that having worked through the first four steps you have done the hardest part and its all downhill from here!
5. The Editing Stage
Once I have fought my way through a first attempt at each chapter of my book, I usually take a well earned break! When it comes to editing, it helps to have the “fresh eyes” that come of not looking at your book for a few days.
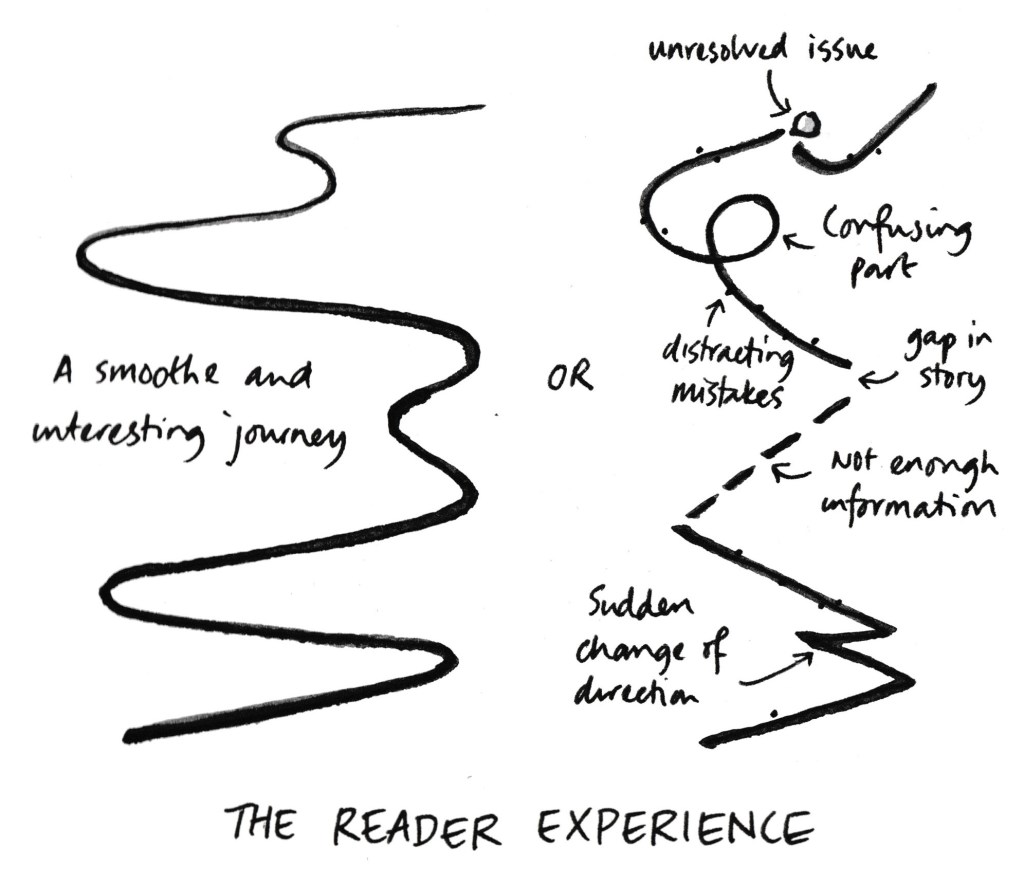
Editing involves starting at the beginning and working through the book improving what you have written. You have to put yourself in the shoes of the reader and make sure the writing flows well, explains everything sufficiently, doesn’t make any sudden jumps that leave the reader confused, is convincing and doesn’t have any mistakes (spelling and punctuation). This all takes time, and it is usual to work through a book several times before you feel it is ready to show someone else. Editing is definitely easiest done on a computer. I can’t imagine how people used to do it in the days of pen and paper!
I wrote the first draft of Caleb and the Incredible Counting Machine 10 years ago! Since then I would guess I have worked through it in editing mode many times, resolving more of the issues each time. Sometimes there was a gap of years in between attempts, which really helps you to look at it afresh.
6. The Feedback Stage
Once you have got the text of your book to the point of being as good as you can get it, it is time to show it to some trusted friends. Feedback is a tricky business, as writers are easily discouraged! You need to find people who will be encouraging, but who will also give you specific feedback that will help you improve your work. It can be hard hearing something negative, but you need to be able to take it on board if you are going to make your book better!
When you ask people to read your work, it helps if you tell them exactly what you are hoping for from them. People tend to fix their attention on the small errors of spelling and punctuation, but what you really need is feedback on the story itself, whether it worked for them and if they can see anything that could be improved.
Once you get feedback you need to make good use of it and not just ignore it… It’s time to go back to Stage 5 and do some more editing…!
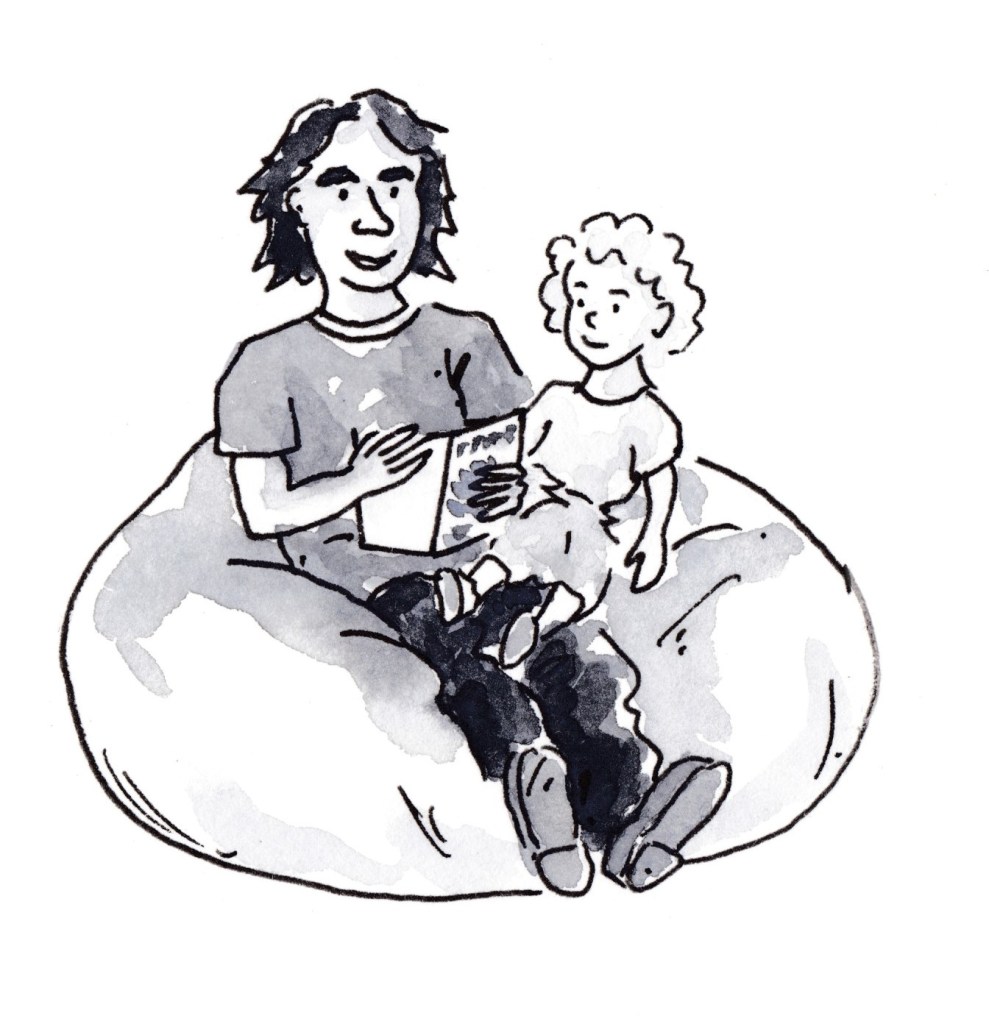
With Caleb and the Incredible Counting Machine, I read it to my kids first, which helped me see what they enjoyed or responded well to. If they asked a question it would mean something wasn’t clear enough! I then showed it to some grown-up relatives who were more likely to point out gaps in the story or things that weren’t convincing. At the end of the day, it is the age group you have written it for that really matters. If they love it, then you have done your job!
7. The Illustrating Stage
Before you can start illustrating your book you need to be sure that the key events and characters in the book are not going to change. So don’t be too hasty and make sure you have got some feedback before making a start!
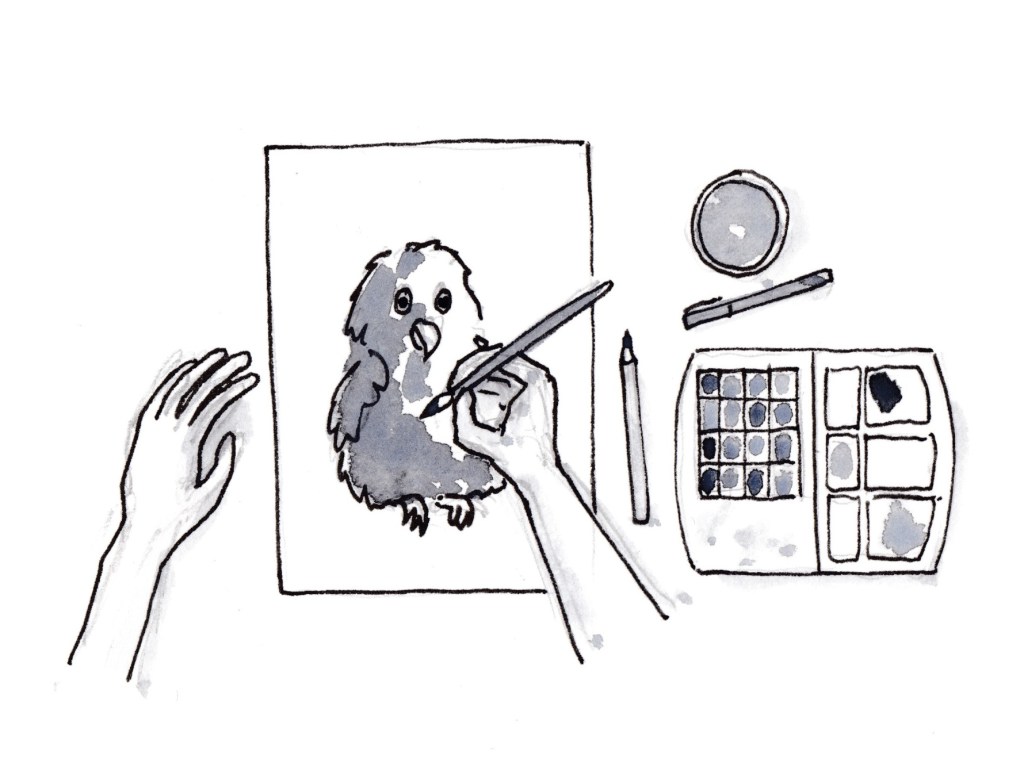
Illustrating a whole book is a fairly daunting task, so you need to decide how many illustrations it is realistic to aim for. With each book you do, you will feel confident to try for more. There is a lot I could say about illustrating (have a look at some of the previous posts such as Step by Step Illustration and Illustrations: from Concept to Completion), but the most important thing is that you use a consistent style for all the pictures – the same materials, the same level of detail, the same steps in building it up. This is surprisingly hard to do and the ability to pull this off is the mark of a true illustrator.
As with any daunting task, it is good to break it down into achievable steps and set goals for when to complete each one.
With Caleb and the All-Seeing Glasses, I set myself a deadline which meant I had to paint one of the large pictures every week-day for 3 weeks. I knew this would be a challenge, but I knew I would build momentum and gain confidence if I was having to do it day after day. As you might expect, I got behind and had to do 5 pictures in the last few days!
8. The Production Stage
Now that you have the completed text for your book and a stack of illustrations, your final task is to combine them into a book that can be printed. Thanks to the wonders of the digital age this can now be done by anyone in the comfort of their own home!
This stage involves a lot of care to make sure things are done consistently. You have to make sure the chapter headings and text is all formatted the same way, that the pictures are scanned and cleaned up and inserted in the same way, at the same resolution. Adding title pages and a contents (list of chapters), page breaks, page numbers etc can all be a bit fiddly. If you don’t have experience of this you can ask someone to help you who does.
Once you have a final version of your book it is really important to ask someone to proofread it before you go to the trouble of printing it. This involves going through it very carefully looking for any spelling and punctuation mistakes.
To see your story looking like a book you can print it as a booklet on many home printers. This will take pages formatted at A4 size and reduce them down to A5 and arrange the pages into a booklet that can be folded in half and stapled on the spine. Because the text shrinks down, you need to make the text in the A4 document bigger than you normally would – at least 15 point.
You may have wondered why Caleb and the Incredible Counting Machine is in two parts… Well, part of the reason is that there is a limit to the number of pages you can print as a booklet (when it becomes too hard to fold the pages in half!) So, in order to be able to print it at home, I divided it into two parts. I liked the fact that the story fell in two parts too and the idea that someone else could start reading Part 1 before you had finished the whole book!
